
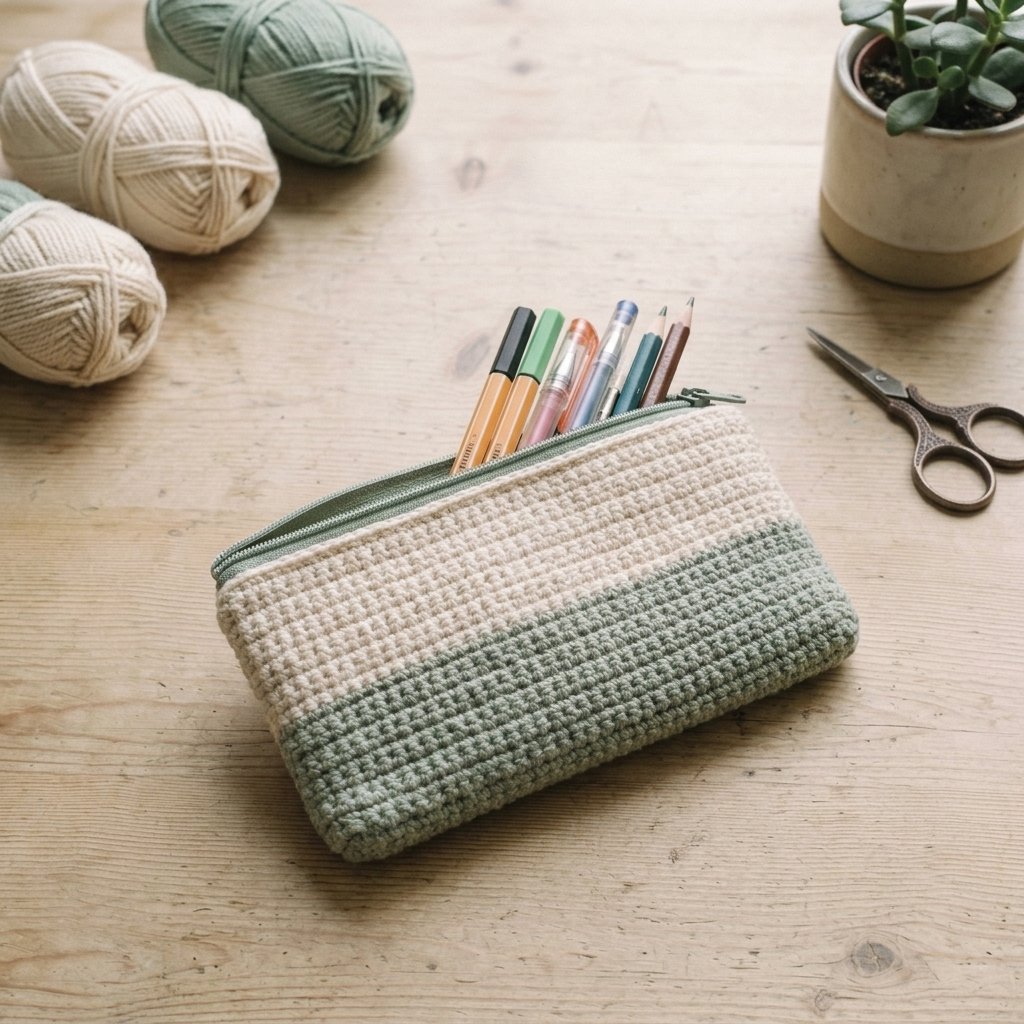
Have you ever wanted to make a useful crochet project that looks beautiful and helps keep your everyday essentials organized? This crochet pencil case is a lovely little project featuring a soft cream upper section, a sage-green lower section, and a neat zipper closure. Its simple color combination gives it a calm, modern look that works well for school, the office, or your craft desk.
The best part is that you can customize this handmade pen pouch to suit your own style. Choose your favorite yarn colors, adjust the dimensions to fit your stationery, and add a lining if you want extra structure. This tutorial explains the materials, stitches, construction, zipper installation, and finishing steps so you can make your own crochet pencil case at home.
Materials You Will Need
Gather these supplies before you begin:
- Cream cotton yarn: Approximately 50–70 g.
- Sage-green cotton yarn: Approximately 40–60 g.
- Crochet hook: 3.0–3.5 mm, depending on your yarn and tension.
- Zipper: Approximately 20–25 cm, adjusted to your finished pouch opening.
- Yarn needle: For sewing the seams and weaving in ends.
- Scissors: For cutting yarn.
- Stitch markers: Optional, but helpful for marking corners.
- Sewing needle and matching thread: For attaching the zipper.
- Optional fabric lining: To prevent pens and small items from catching in the crochet stitches.
Skill level: Beginner to intermediate
Crochet terminology: US terms
Construction: One flat rectangular panel, folded and seamed
Finished size: Approximately 20–22 cm long and 7–8 cm high, depending on your gauge
Crochet Abbreviations
| Abbreviation | Meaning |
|---|---|
| ch | Chain |
| sc | Single crochet |
| sl st | Slip stitch |
| st / sts | Stitch / stitches |
| rep | Repeat |
| BLO | Back loop only |
| RS | Right side |
| WS | Wrong side |
For this pattern, work in rows rather than rounds. Turn at the end of each row unless instructed otherwise.
Step 1: Crochet the Main Pencil Case Panel
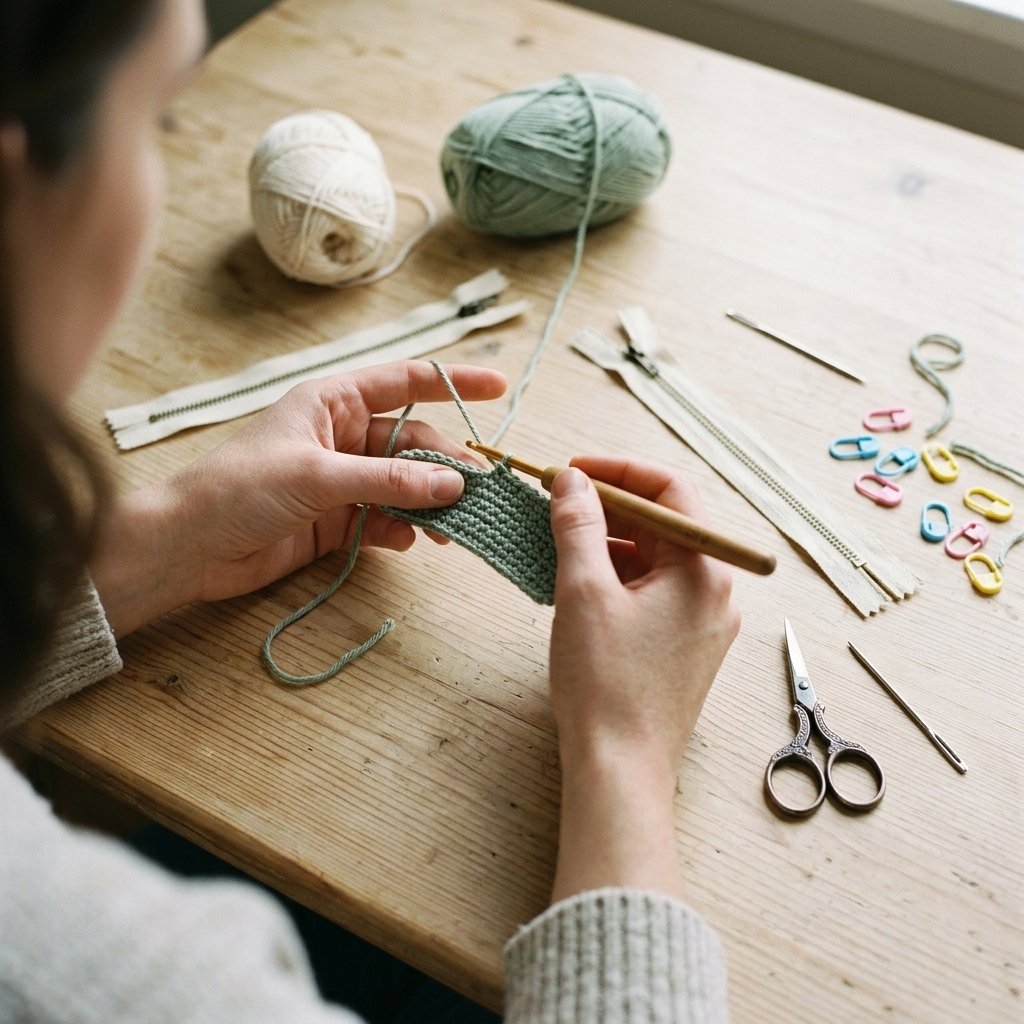
Start with sage-green yarn and a 3.0–3.5 mm hook.
Foundation: Ch 31.
Row 1: Sc in the second ch from the hook and in each remaining chain. (30 sc)
Rows 2–24: Ch 1, turn, and sc in every stitch across. (30 sc per row)
This creates the sage-green base section of the pouch. Keep your stitches even so the panel has straight sides.
Change to cream yarn at the end of Row 24. To change colors neatly, finish the final stitch of the old color with the new color, then continue.
Rows 25–50: Ch 1, turn, and sc across all 30 stitches using cream yarn. (30 sc per row)
Fasten off and weave in the yarn ends.
You now have a flat rectangular panel with a sage-green section at one end and a longer cream section at the other. The exact dimensions will depend on your yarn and tension.
Tip: If your panel is much wider or narrower than expected, adjust the foundation chain. If it is too short or too long, add or remove rows.
Step 2: Shape the Pencil Pouch
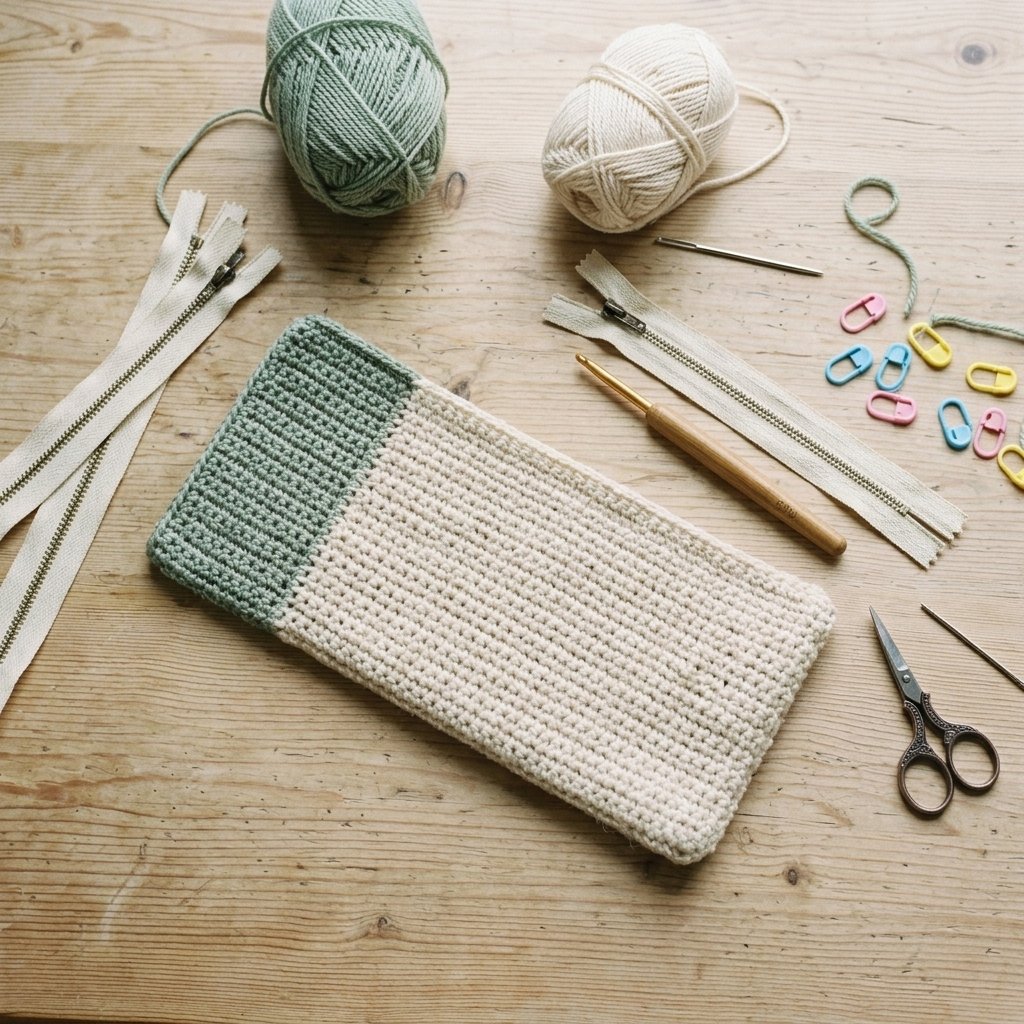
Lay the panel flat with the right side facing down.
Fold the sage-green end upward and the cream end downward so that the two ends meet near the top, leaving enough room for the zipper. Adjust the folds until the pouch has the desired depth.
Use stitch markers to hold the folded sides in place.
With matching yarn and a yarn needle, sew the left and right side seams securely. You can also use slip stitches through both layers if you prefer a crochet seam.
Keep the top opening straight and unobstructed. Do not sew the folded edges closed because this is where the zipper will go.
Turn the pouch right side out and check that both side seams are even.
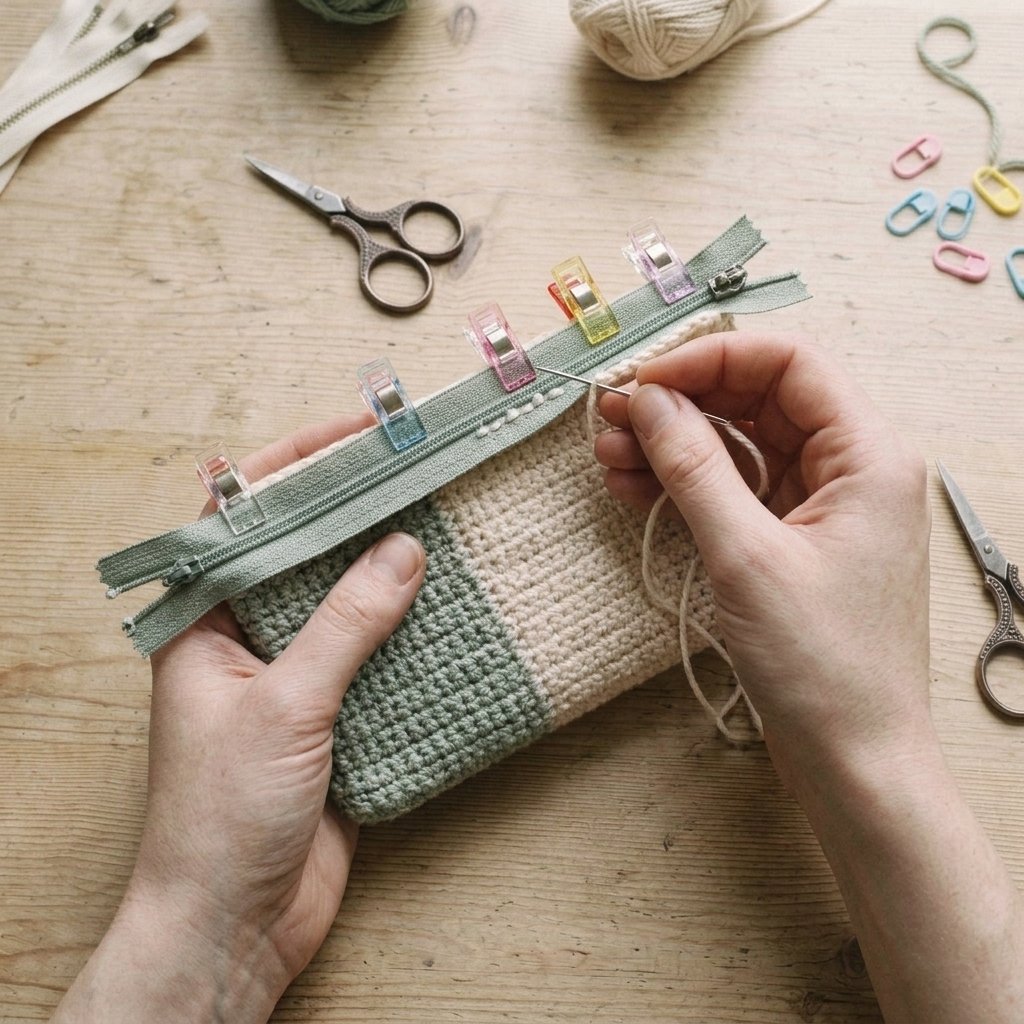
Step 3: Attach the Zipper
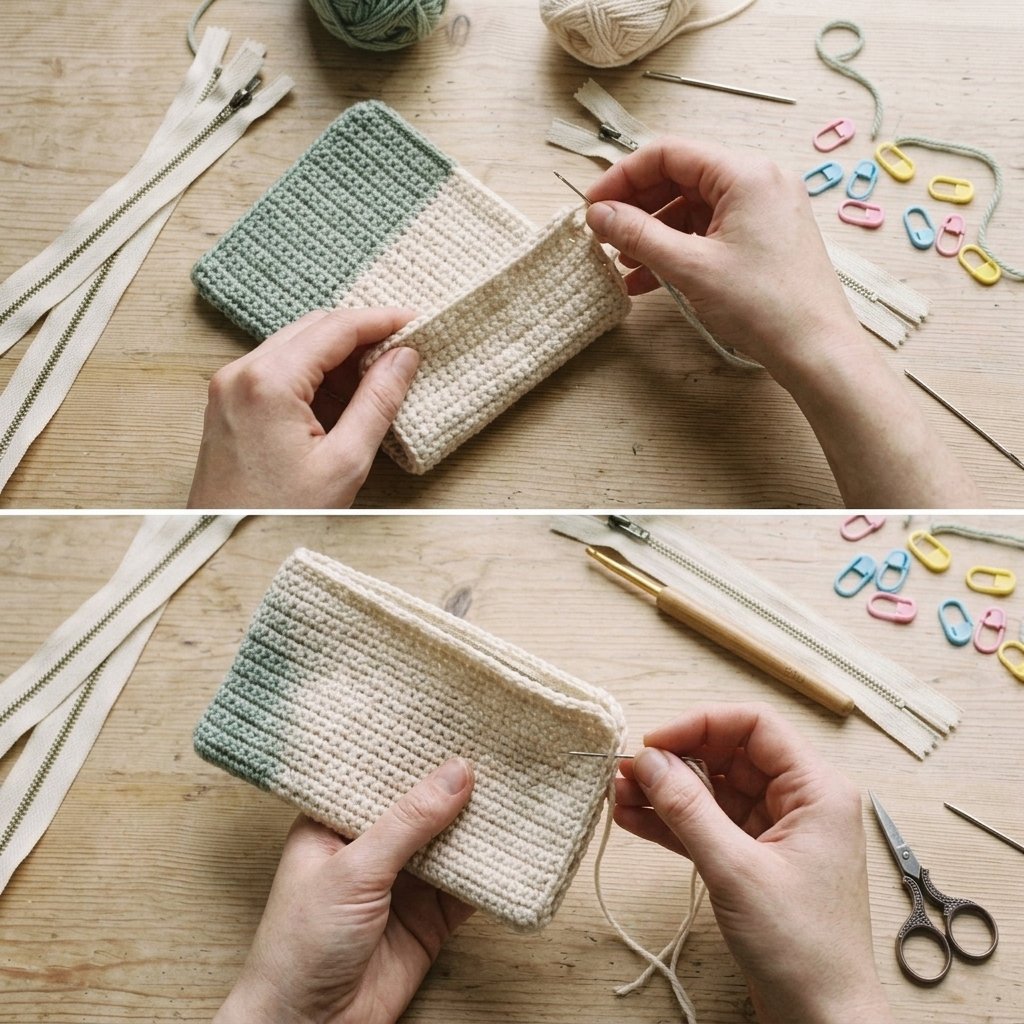
Choose a zipper that fits the full width of your pouch opening.
- Open the zipper and position one side along the top edge.
- Use stitch markers or small clips to hold it in place.
- Thread a sewing needle with matching thread.
- Sew the zipper tape to the crochet fabric using small, evenly spaced stitches.
- Attach the other side of the zipper to the opposite top edge.
- Open and close the zipper slowly to check that it moves freely.
Avoid pulling the yarn or thread too tightly, as this can make the opening pucker.
Beginner tip: Hand-sewing the zipper is often easier than using a sewing machine on stretchy crochet fabric. A fabric lining can also be sewn to the zipper tape first if you want a neater interior.
Step 4: Finish the Side Seams and Weave in Ends
Inspect the pouch from the inside and outside.
- Secure any loose yarn ends with a yarn needle.
- Check that the side seams are strong and even.
- Make sure the zipper is centered and does not catch on the yarn.
- Smooth the corners gently with your fingers.
- Add an optional fabric lining if you plan to carry small pens, sharpeners, or other items.
If you want the pouch to hold its shape more firmly, use a slightly tighter crochet tension or add a lightweight lining.
Step 5: Enjoy Your Finished Crochet Pencil Case
Your cream-and-sage crochet pencil case is ready to use!
Fill it with pencils, pens, markers, crochet hooks, or small art supplies. You can also make a matching set in different colors for school, work, or handmade gifts.
For a different look, try dusty pink with cream, lavender with white, or beige with chocolate brown. You can also add a small crochet flower or a simple decorative tag to personalize your pouch.
Helpful Tips for a Neat Finish
Use consistent tension. Even stitches help the pouch keep its shape and make the color changes look clean.
Choose a suitable yarn. Cotton yarn is a good choice because it is durable and generally holds its shape well.
Measure before attaching the zipper. Crochet fabric can stretch, so check the opening against the actual zipper before sewing.
Reinforce the seams. The corners and zipper ends experience extra pulling, so secure them carefully.
Add a lining if needed. A simple fabric lining can help protect the crochet stitches from pen tips and small stationery items.
Frequently Asked Questions
Is this crochet pencil case suitable for beginners?
Yes. The main panel uses basic single crochet stitches worked in rows. Attaching the zipper is the most fiddly part, but stitch markers and hand-sewing make the process easier.
What yarn is best for a crochet pencil pouch?
Cotton yarn is a practical option because it creates a sturdy fabric. Acrylic yarn can also work, but the pouch may be softer and more flexible.
Can I make the pencil case bigger?
Yes. Add chains to the foundation to increase the width and work additional rows to increase the panel length. Remember that the folded dimensions will be smaller than the flat panel.
Do I need to add a fabric lining?
No, a lining is optional. However, it is helpful if you plan to carry sharp pencils, small accessories, or items that might catch in the crochet stitches.
What size zipper should I use?
Choose a zipper that matches the width of the pouch opening. A 20–25 cm zipper may work for this design, but measure your finished panel before purchasing one.
How long does this project take?
The crochet panel may take a few hours, depending on your experience. Folding, seaming, and attaching the zipper will add extra time.
Can I sell pencil cases made from this pattern?
You can generally sell your own handmade finished items, subject to any applicable rules. If you publish this tutorial on your website, use your own photographs and original wording.
How do I wash a crochet pencil case?
Check the yarn label first. Remove any stationery and follow the recommended washing instructions. If the pouch has a fabric lining or zipper, gentle hand washing is a practical option. Let it dry completely before using it again.
Final Thoughts
This crochet pencil case is a practical way to turn a few balls of yarn into something useful and attractive. The cream and sage-green combination gives it a simple, timeless look, while the zipper keeps your stationery together.
Take your time with the color change, fold the panel evenly, and attach the zipper carefully. Once you have made one, you can easily experiment with different colors and sizes to create a collection of handmade pen pouches.
1 thought on “Easy Crochet Pencil Case Pattern: Cream and Sage Green Pen Pouch”